Getting Started with VirtualProg
Welcome to VirtualProg — a virtual machine manager built exclusively for macOS. This guide walks you through everything you need to get up and running with your first virtual machine.
System Requirements
| Requirement | Details |
|---|---|
| macOS | macOS 14.6 Sonoma or later |
| Mac | Apple Silicon (M1 or later) — for macOS and Linux VMs Intel Mac — for Linux VMs only |
| Free Disk Space | 20 GB or more for a macOS VM; 8 GB or more for a Linux VM |
| RAM | 8 GB minimum; 16 GB or more recommended when running multiple VMs |
Note: macOS virtual machines require Apple Silicon. Intel Macs can run Linux VMs only.
Installation
- Open the Mac App Store and search for VirtualProg, or use the direct link from the VirtualProg website.
- Click Get to download and install.
- Launch VirtualProg from Launchpad or the Applications folder.
First Launch — Onboarding
The first time you open VirtualProg, an onboarding wizard guides you through the initial setup. There are six steps:
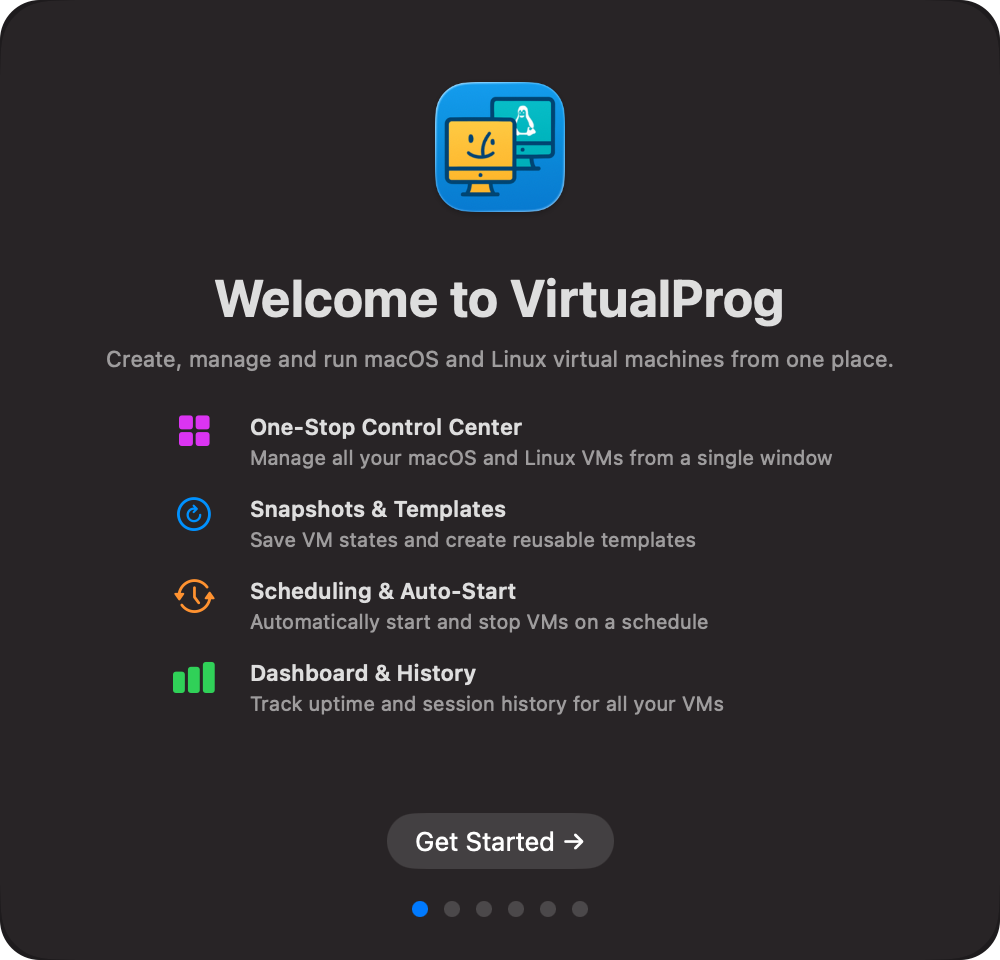
Step 1 — Welcome
An overview of VirtualProg's key features.
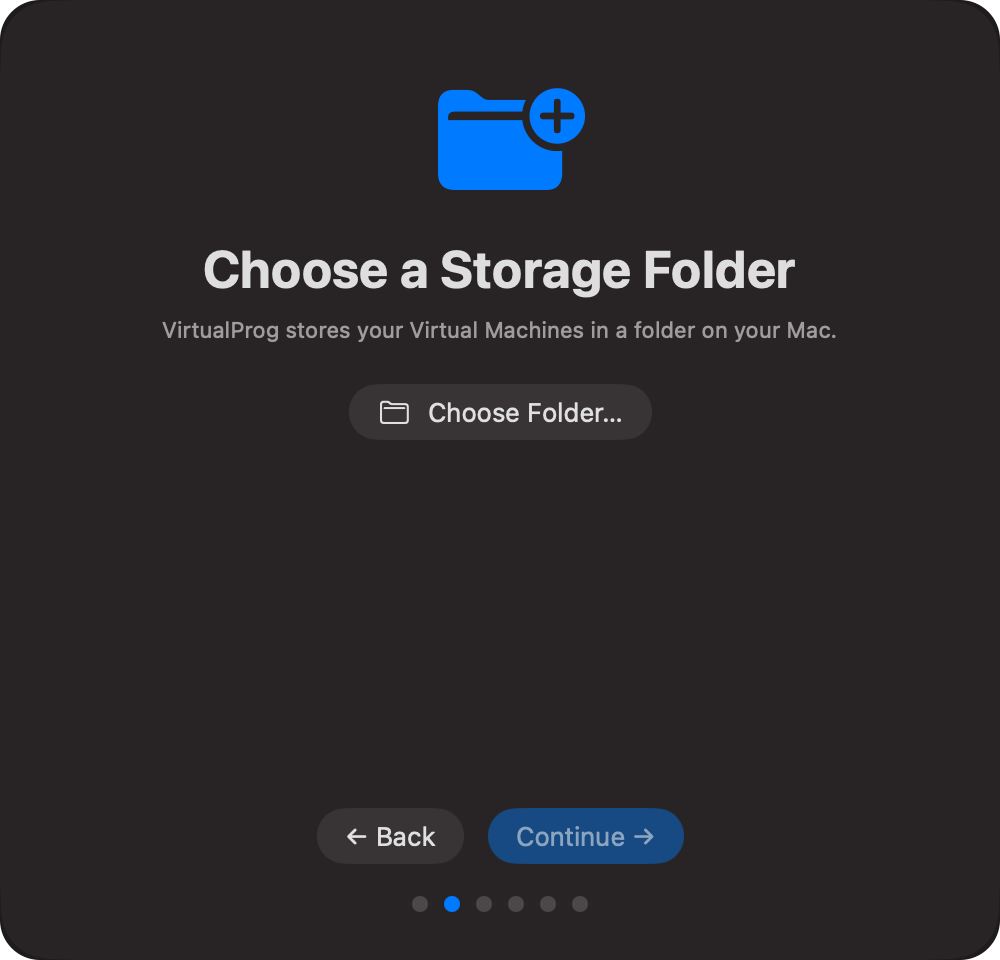
Step 2 — Storage Folder
Choose the folder where VirtualProg stores your virtual machines. Pick a location with plenty of free disk space — an external SSD or a spacious internal drive works well.
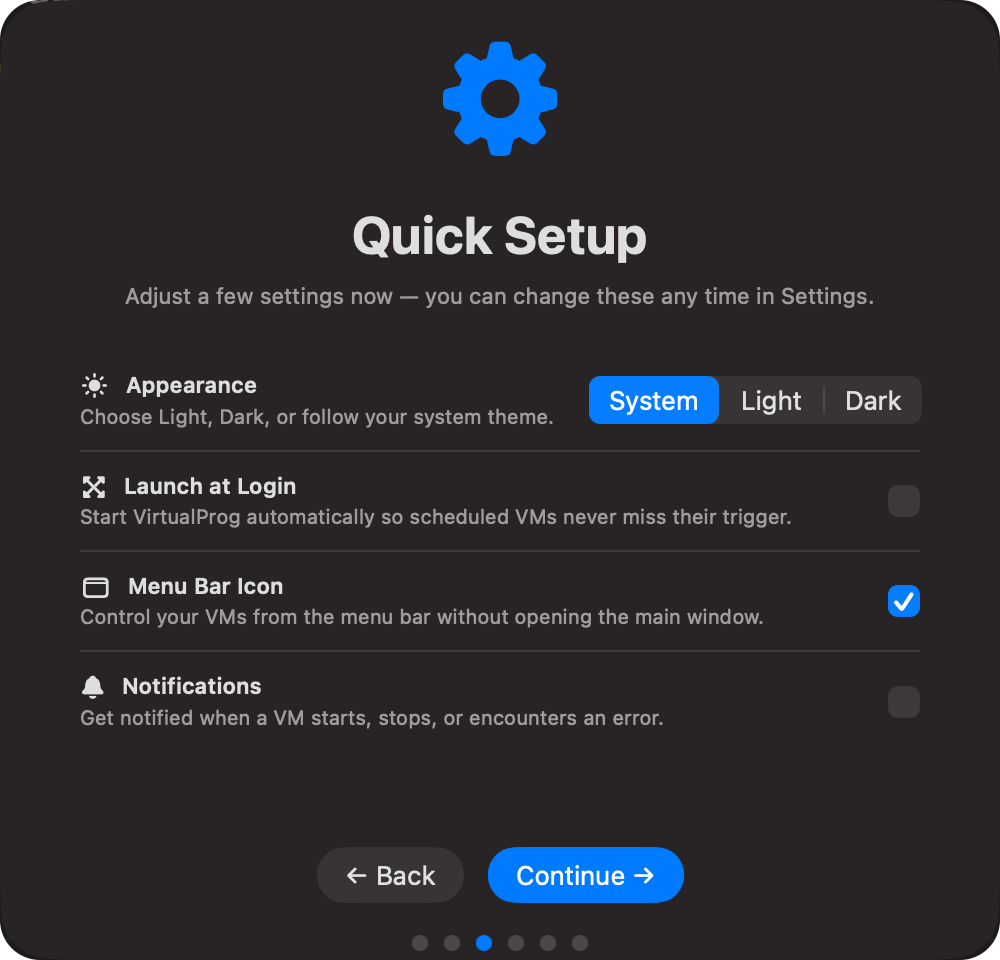
Step 3 — Quick Setup
Set your preferred appearance (Light, Dark, or System), enable Launch at Login so VirtualProg starts automatically, toggle the Menu Bar Icon for quick access, and enable Notifications to be alerted when VMs start, stop, or encounter errors.
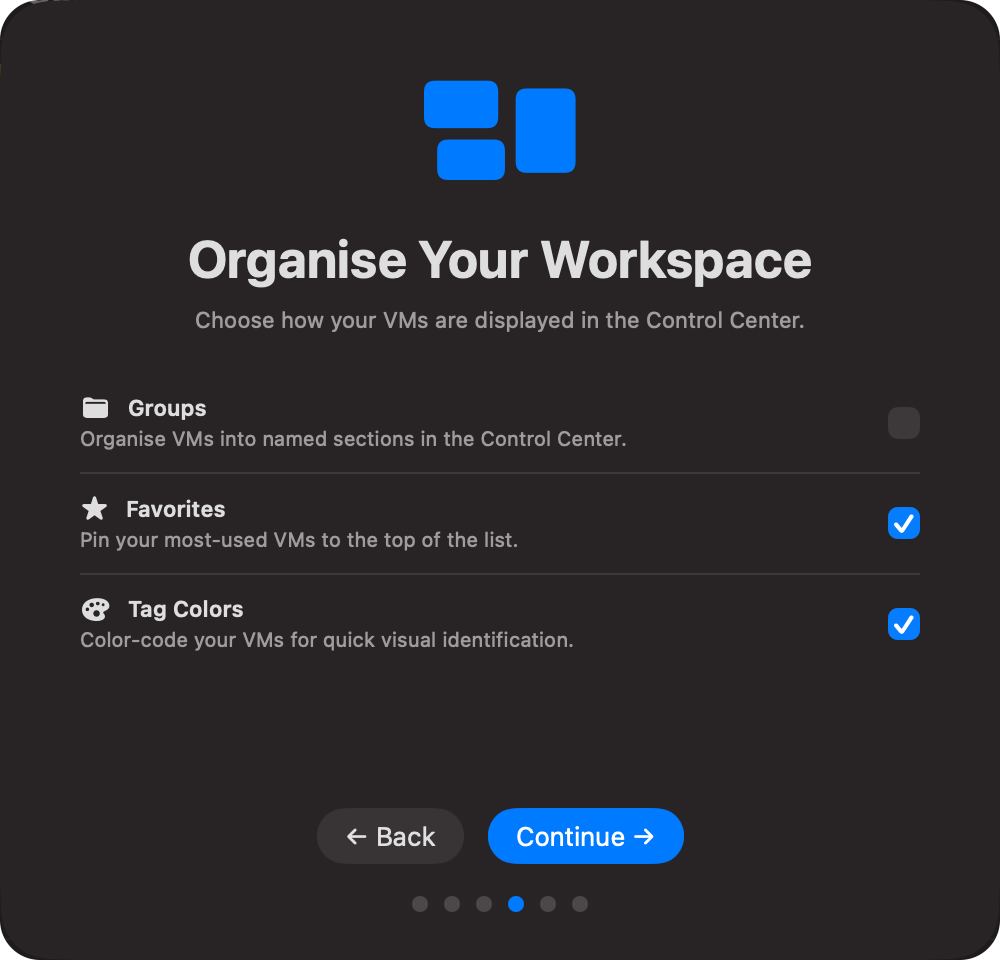
Step 4 — Organise Your Workspace
Enable Groups, Favorites, and Tag Colors to control how VMs are displayed in the Control Center. These can all be changed later in Settings → Interface.
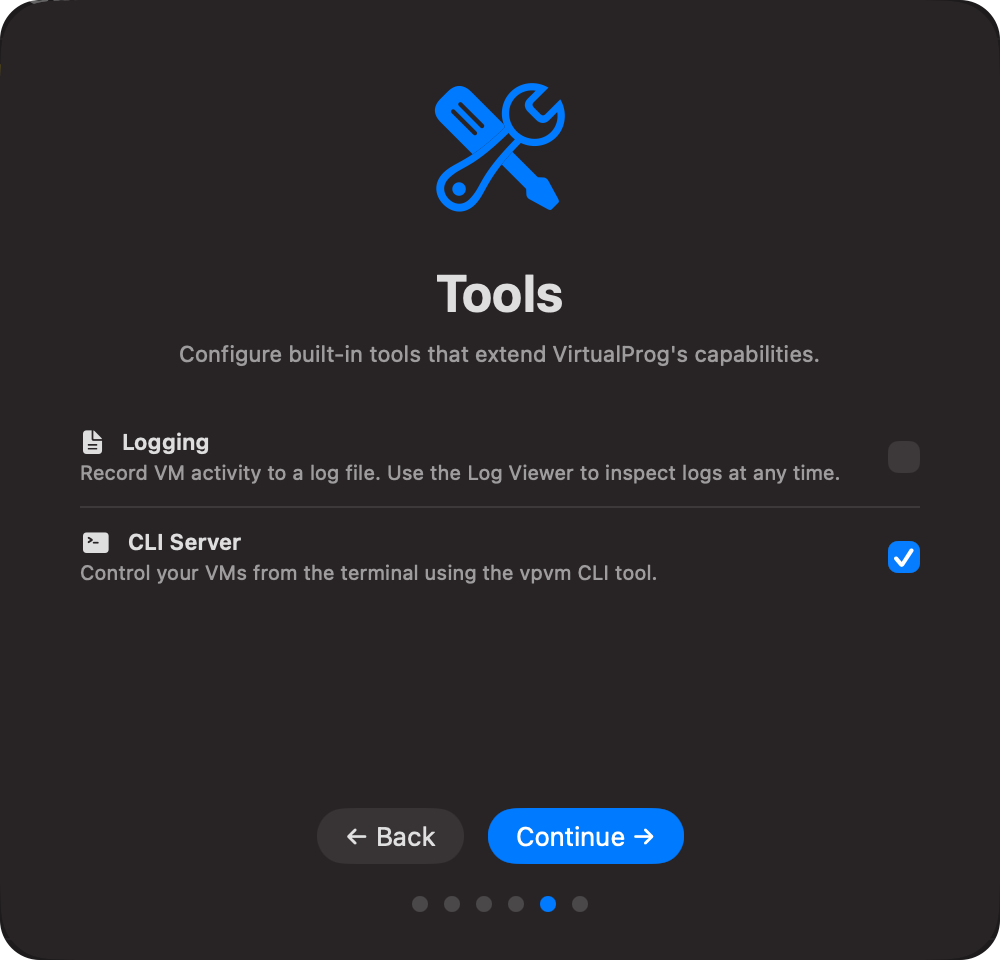
Step 5 — Tools
Enable Logging to record VM activity to a log file viewable in the Log Viewer. Enable the CLI Server if you plan to control VMs from the terminal using the vpvm CLI tool.
Step 6 — Ready
You are all set. Quick tips for creating and launching your first VM are shown here.
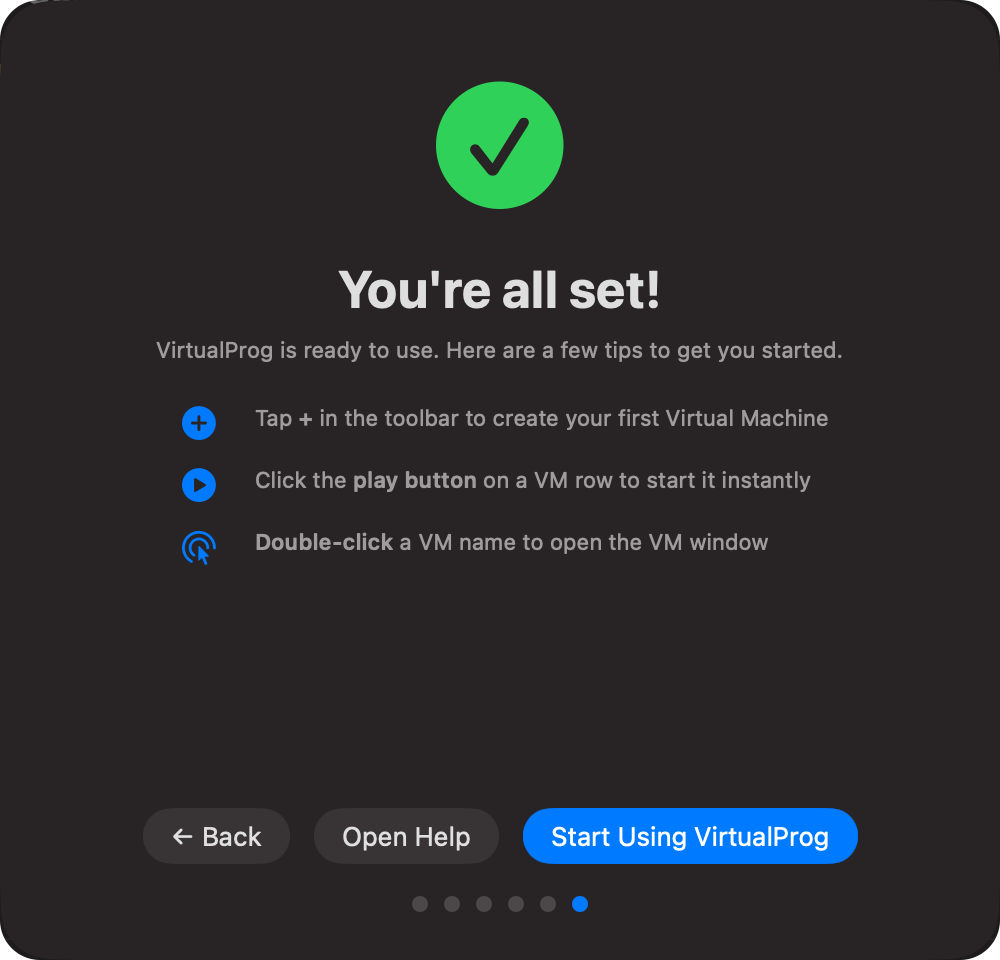
After completing onboarding, the Control Center opens — this is the main window where all your VMs live.
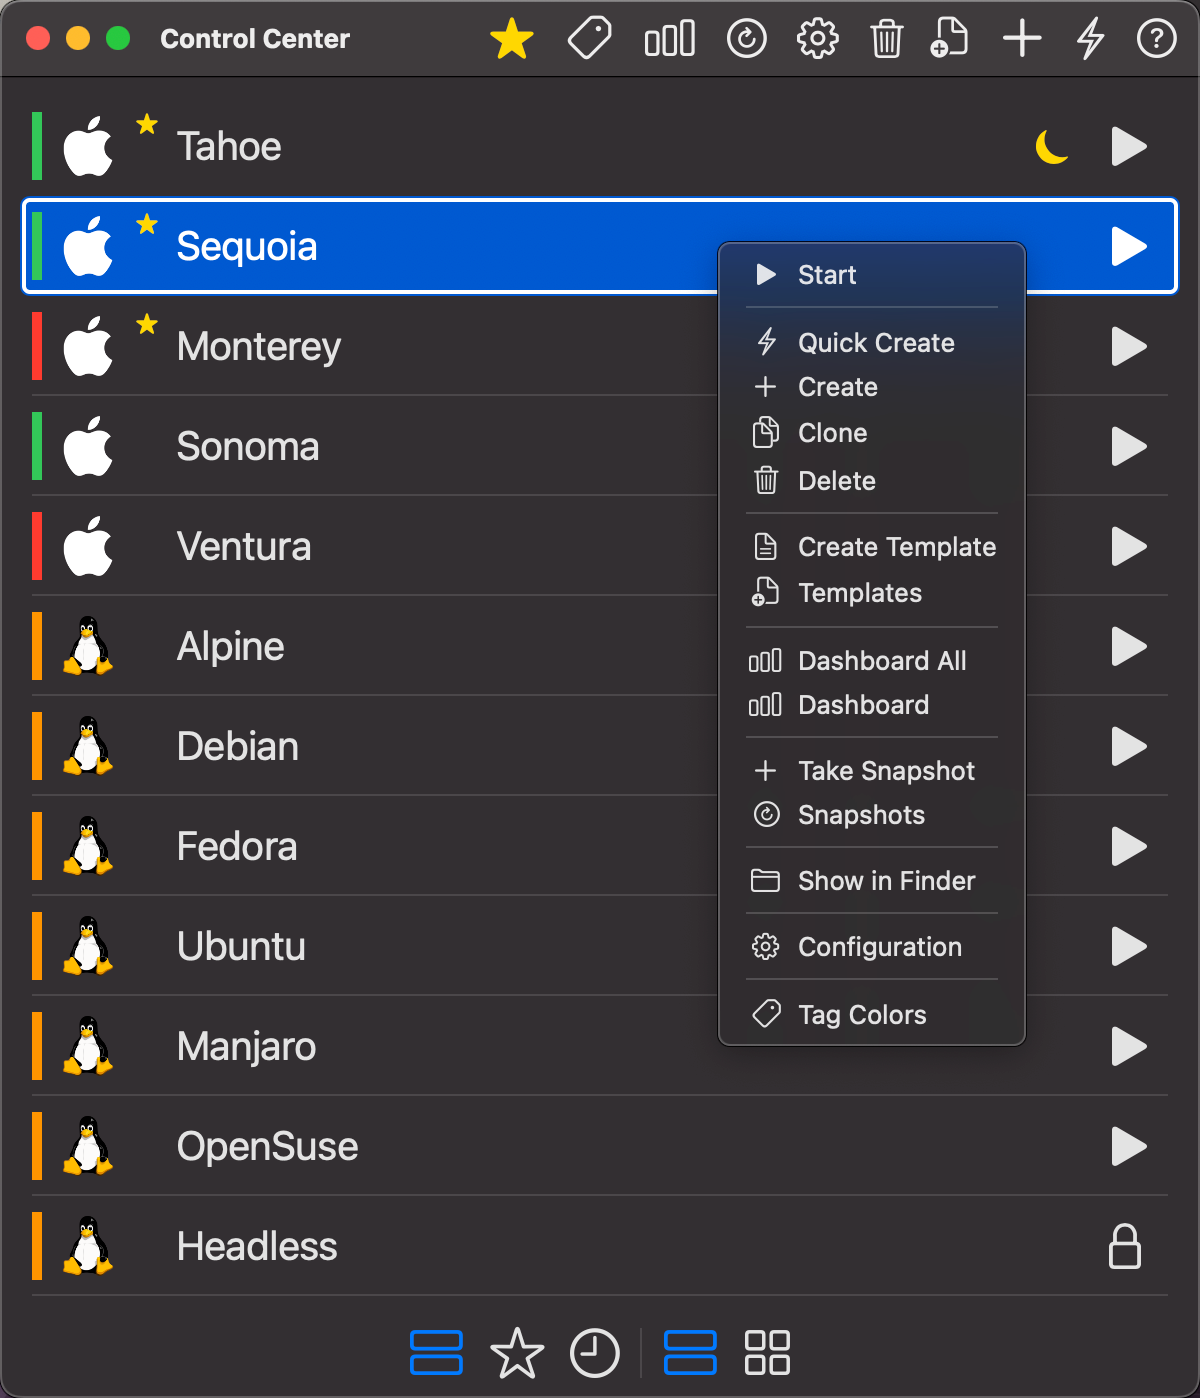
Creating Your First VM
There are two ways to create a virtual machine.
⚡ Quick Create (Recommended)
Quick Create is the fastest way to get a VM running. Click the ⚡ button in the Control Center toolbar.

For a macOS VM:
- Enter a Name for the VM.
- Select macOS as the OS.
- Choose a macOS version from the dropdown and click Download — VirtualProg fetches the restore image (IPSW) directly from Apple. Or click Select Restore Image to use an IPSW file you already have.
- Set Processors, Memory (MB), and Disk Size (GB). See CPU & Memory for guidance on how much to assign.
- Click Create.
For a Linux VM:
- Enter a Name for the VM.
- Select Linux as the OS.
- Click Select Linux ISO and choose your distribution's ISO file (e.g. Ubuntu, Debian, Fedora).
- Set Processors, Memory (MB), and Disk Size (GB).
- Click Create.
Tip: Check Modify Configuration After Create if you want to review or change hardware settings before starting the VM for the first time.
➕ Advanced Create
For full control over every setting from the start, click the ➕ button in the toolbar. This opens the full configuration wizard where you can set up networking, display, shared folders, serial ports, and more before the VM is created. See Configuration for a full reference of every option.
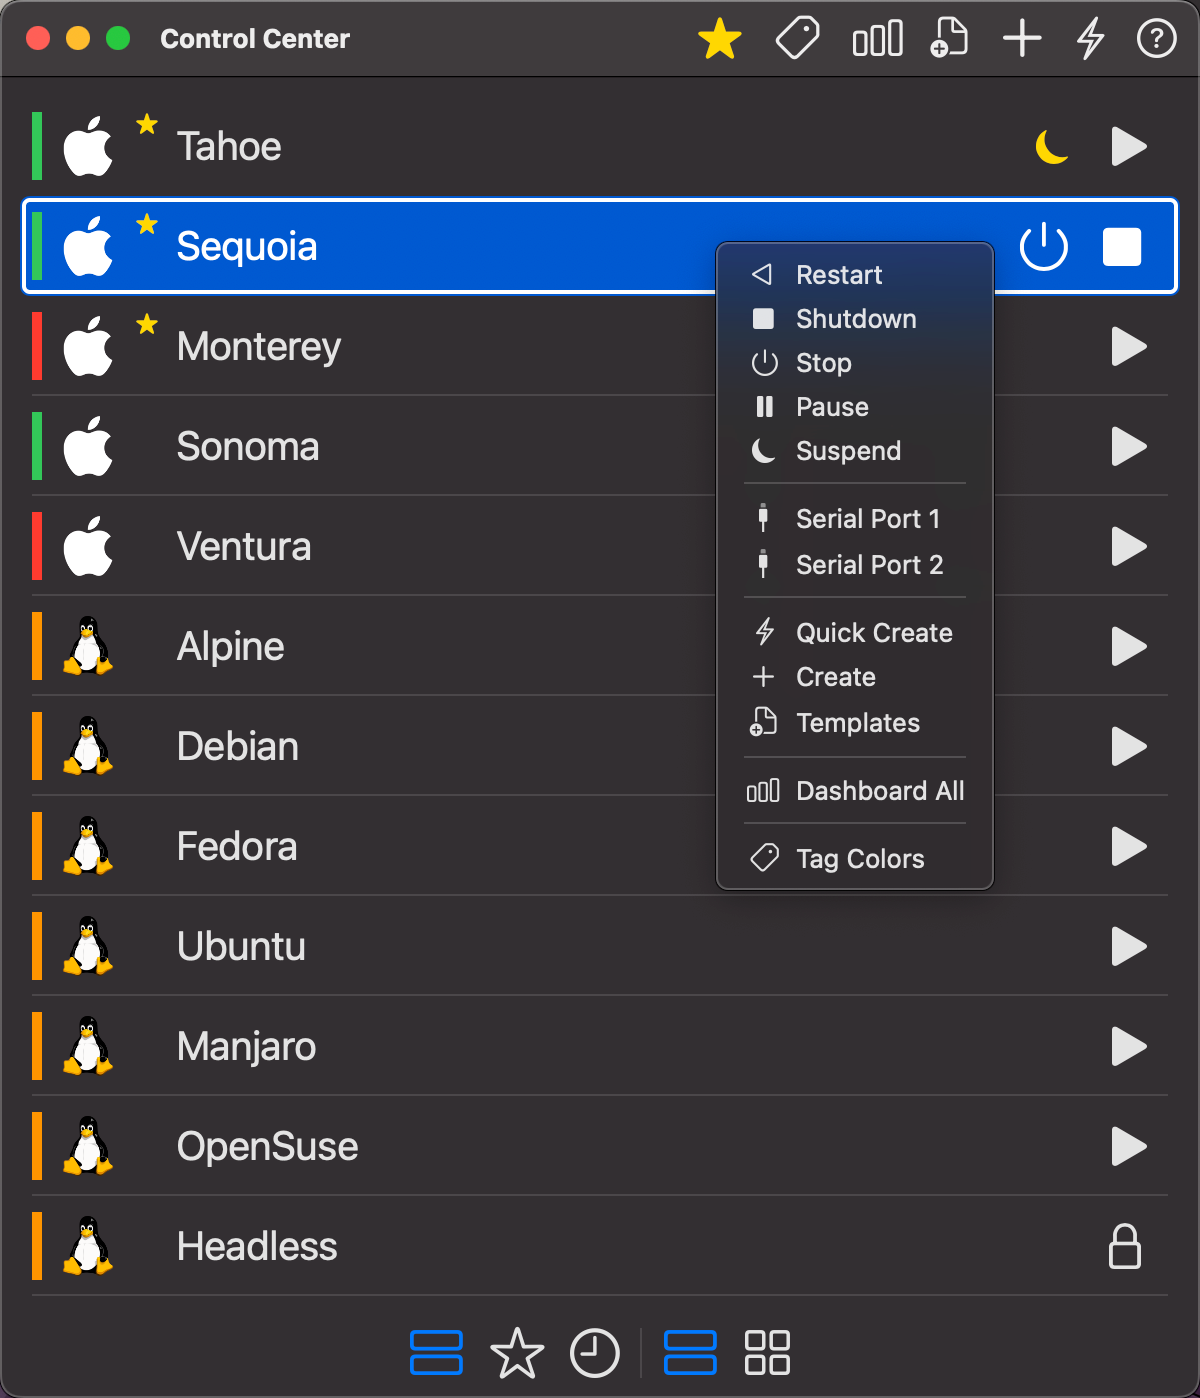
Starting a VM
Once a VM is created it appears in the Control Center list. You have two ways to start it:
- Click the ▶️ play button on the right side of the VM row for an instant start.
- Double-click the VM name to start it and open its window at the same time.
The VM row shows a status indicator while it is starting, and the toolbar adapts to show power management controls once it is running.
The VM Window
When a VM starts, its display opens in a dedicated window.

From the VM window you can:
- Interact with the guest OS using your keyboard and mouse.
- Use the toolbar to stop, pause, suspend, or restart the VM.
- Take a screenshot or start a screen recording.
- Open the serial port terminal if configured.
See Virtual Machine View for a full description of all controls.
What's Next
Once your VM is running, explore these features to get the most out of VirtualProg:
| Feature | Description |
|---|---|
| Snapshots | Save and restore precise VM states. Great before risky changes. |
| Shared Folders | Share folders between your Mac and the guest OS. |
| Scheduling | Automatically start and stop VMs at set times. |
| Auto Snapshots | Take snapshots automatically on start, daily, or on shutdown. |
| Dashboard | Track uptime, session history, and usage across all your VMs. |
| Templates | Save a VM as a reusable template and spin up new VMs from it instantly. |
| Command Line | Control VMs from the terminal using the vpvm CLI tool. |
💬 Need help? Email us at [email protected]