🖥 Connect
Remote Control of running VM's graphical display directly in your browser, with mouse and keyboard input forwarded back to the VM — no VNC, no additional setup required.
Note: It works well for mouse interaction and simple text input. for Modifier key combinations (such as Cmd+Space, Ctrl+Alt+Del, or Alt+F4) use the keys panel in the VM window.
Requirements
- The CLI Server must be running (Settings → CLI → Enable CLI Server)
- The VM must be running — the button is not shown for stopped or paused VMs
- The VM window must be open in the VirtualProg app for live capture and input; if the window is closed, the last captured frame is shown and input is not forwarded
Opening Remote Control
- Open the Web Dashboard in your browser
- Click a running VM card to open the detail panel
- Click 🖥 Connect
The viewer opens in a new popup window (1024 × 768 px, resizable). Each VM gets its own named window — clicking the button again brings the existing window to the front rather than opening a duplicate.
Viewer Controls
| Control | Description |
|---|---|
| Type | Opens the soft keyboard on touch devices to send keystrokes to the VM — tap once to show, tap again to hide |
| VM action buttons | Control the VM directly from the toolbar — buttons change based on the current VM state (see below) |
| FPS selector | Controls how many times per second the display is refreshed. Auto (recommended) adapts the frame rate to your connection in real time — it raises FPS when conditions are good and drops back when congestion is detected, with strong hysteresis to avoid oscillation. Fixed options: 1, 3, 5, 8, 10, 15, 20, 25, 30 fps. The current adapted rate is visible in the connection stats popup. |
| Quality selector | Controls how the screen is streamed to your browser. H265 is the recommended codec — it delivers the smoothest, most responsive display at the lowest bandwidth. H264 is an excellent alternative if your browser does not support H265. High, Medium, and Low are JPEG quality levels. Best (PNG) is lossless. When the Mac display sleeps, the viewer automatically falls back to JPEG and resumes H265/H264 when the display wakes — see Display Sleep. See Hardware Streaming (H265 / H264) for codec details. |
| 🔒 Lock Mouse | Captures the mouse pointer inside the viewer for smooth, uninterrupted mouse control — press Esc to release |
| ⛶ Fullscreen | Enter or exit fullscreen mode |
| 📷 Screenshot | Captures the current VM display and saves it as a PNG file to your device. Only available while the VM is running. |
| Serial Ports | Lists all serial ports configured on the VM. Console ports open an interactive web terminal; File ports open a log viewer with Refresh and Download controls. |
| USB Devices | Attach or detach USB devices from your Mac directly to the running VM. Only shown when the VM is running. Requires macOS 27 Golden Gate or later. |
| Memory Balloon | Adjust the amount of memory available to the guest at runtime without rebooting. Only shown for Linux VMs with memory balloon enabled. |
| Display Resolution | Change the guest display resolution without leaving the viewer. Only shown for VMs configured with host display mode and while the VM is running. |
| Fit to Window | Resize the VM display to exactly match the viewer window — eliminates black bars and gives a crisp, pixel-accurate image. Stays active as you resize the window. Only shown while the VM is running in host display mode. |
| Keys | Send special key combinations to the VM window |
Hardware Streaming (H265 / H264)
H265 is the recommended codec for all connections. Compared to JPEG or PNG, hardware codecs compress screen content far more efficiently — delivering a smoother, more responsive display while using a fraction of the bandwidth. H265 goes a step further than H264, producing an even sharper, more fluid experience at the same or lower data rate.
Low bandwidth? Use H265 (or H264 if H265 is unavailable). JPEG and PNG stream every frame as a full image. Hardware codecs only encode what changed — dramatically reducing data usage on slow connections.
Selecting H265 or H264 from the Quality dropdown automatically enables Auto FPS, which adapts the frame rate to your connection in real time.
Recommended settings
| Connection | Recommended settings |
|---|---|
| Local network | H265, Auto FPS |
| Internet / VPN | H265, Auto FPS |
| Slow or metered connection | H265, Auto FPS |
Tip: H265 with Auto FPS works well on any connection. The viewer starts conservatively and ramps up as conditions allow — no manual tuning needed. Monitor live stream rate and data usage in the connection stats popup.
Display Sleep
When the Mac's display goes to sleep, macOS suspends ScreenCaptureKit — the system API used for live frame capture. VirtualProg handles this automatically:
- The stream switches to JPEG while the display is asleep. H265 and H264 are not available during sleep.
- When the display wakes, ScreenCaptureKit resumes and the stream transitions back to the selected codec (H265 or H264) seamlessly.
- The Quality dropdown does not change — the codec preference is remembered and restored on wake.
The remote control session stays fully active throughout — there is no disconnection and no action needed on your part.
Requirements
- Modern Screen Capture must be enabled in VirtualProg — go to Settings → Advanced to enable it.
- Supported browsers: Chrome, Edge, and Safari. Firefox does not support hardware codec streaming — the viewer automatically falls back to standard image quality with no action needed on your part.
- H265 requires Chrome 107+, Edge 107+, or Safari 16+. If H265 is not available in your browser, the option will not appear in the Quality dropdown — select H264 instead.
Serial Ports
If the VM has any serial ports configured, a Serial Ports button (cable icon) appears in the toolbar. It is always visible regardless of VM state, since File ports can be read even when the VM is paused or stopped.
- Single port — clicking the button immediately dispatches to the correct action for that port.
- Multiple ports — clicking opens a small picker listing all ports in the order they are defined in the VM configuration. Each port shows an icon indicating its type: a terminal icon for Console ports and a document icon for File ports.
Console Ports
Selecting a Console port opens an interactive web terminal in a new popup window — the same terminal as the one accessible from the VM detail panel. The terminal connects over WebSocket and supports full keyboard input. See Web Console for details.
File Ports (Log Viewer)
Selecting a File port opens a read-only log viewer panel anchored to the top-right of the viewer. The panel shows the current contents of the port's output file and provides three controls:
| Control | Description |
|---|---|
| Refresh | Re-reads the log file and updates the content |
| Download | Saves the log file to your device. The file is downloaded as {vm name}-{port name}.log and preserves the exact bytes written by the guest, including any binary content. |
| ✕ Close | Closes the log viewer panel |
The log viewer displays content in a monospaced font. Use Refresh to check for new output, or Download to save the full log for offline inspection.
To configure serial ports, open the VM configuration in VirtualProg, go to Serial Ports, and set the mode to Console or File for each port.
USB Devices
The USB Devices button (USB icon) appears in the toolbar when the VM is running on macOS 27 Golden Gate or later. It lets you pass USB devices from your Mac directly into the guest — no drivers or additional configuration required inside the VM.
Step 1 — Connect the device to VirtualProg
When you plug in a USB device, macOS displays a USB accessory menu in the menu bar. Click the USB icon in the menu bar, select the device, and choose Use with VirtualProg. Once authorised, the device becomes visible to VirtualProg and available for passthrough.
Step 2 — Attach the device to the VM
Click the USB Devices button in the remote control toolbar to open the device picker:
| Entry | Description |
|---|---|
| USB icon + device name | Device is available — click to attach it to the running VM |
| Unlink icon + device name | Device is already attached to this VM — click to detach it |
| ⚠ device name (VM name) | Device is in use by another running VM — cannot be attached until released |
The panel closes automatically after each action.
Step 3 — Return the device to your Mac
To give the device back to macOS, click the USB icon in the Mac menu bar and choose Use with this Mac.
Requirements: USB passthrough requires macOS 27 Golden Gate or later. The virtual machine must be running and must have a USB (XHCI) controller configured in its settings.
Memory Balloon
The Memory Balloon button (memory icon) appears in the toolbar when the VM is a Linux guest with memory balloon enabled and the VM is currently running. It lets you reclaim host memory by reducing the amount of RAM available to the guest — without rebooting.
Clicking the button opens a panel with:
| Control | Description |
|---|---|
| Slider | Drag to set the target memory, from 64 MB up to the VM's configured maximum, in 64 MB steps |
| Apply | Sends the new target to the VM immediately |
| Reset to Max | Restores the full configured memory amount |
The panel also shows the configured maximum and the current target at a glance. Changes take effect immediately and do not require a restart. If you increase the target back toward the maximum, the guest can reclaim the memory it previously returned to the host.
To enable the memory balloon device, open the VM configuration in VirtualProg and enable Memory Balloon under Resources.
Display Resolution
The Display Resolution button (display icon) appears in the toolbar when the VM is running and its display is configured in host mode. Clicking it opens a compact picker listing every resolution supported by the Mac's connected displays.
Selecting a resolution resizes the VM's display window, and the VirtIO GPU driver automatically signals the guest OS to match — no manual screen settings required inside the VM. The change takes effect immediately and is reflected in subsequent captures shown in the viewer.
This works for all VM types:
- Normal VMs — the native VM window is resized directly
- Headless and background VMs — the off-screen display used for web capture is resized, so the guest still adapts even when no native window is visible on screen
Display Resolution requires the VM's Display to be set to Auto (host) mode in the VM configuration. It is not available for VMs with a fixed forced resolution.
Fit to Window
The Fit to Window button (fit-screen icon) appears in the toolbar next to Display Resolution when the VM is running in host display mode. Clicking it sets the VM's guest resolution to exactly match the current viewer window size, eliminating any black bars and producing a crisp, pixel-accurate image.
When Fit to Window is on (button highlighted), the resolution automatically updates whenever you resize the viewer window — there is a brief 400 ms pause after you stop resizing before the change is applied, to avoid unnecessary updates while dragging.
Click the button again to turn it off. The VM keeps the last resolution that was set; the viewer continues to scale the image to fit the window as before.
Fit to Window requires the same conditions as Display Resolution: the VM's Display must be set to Auto (host) mode.
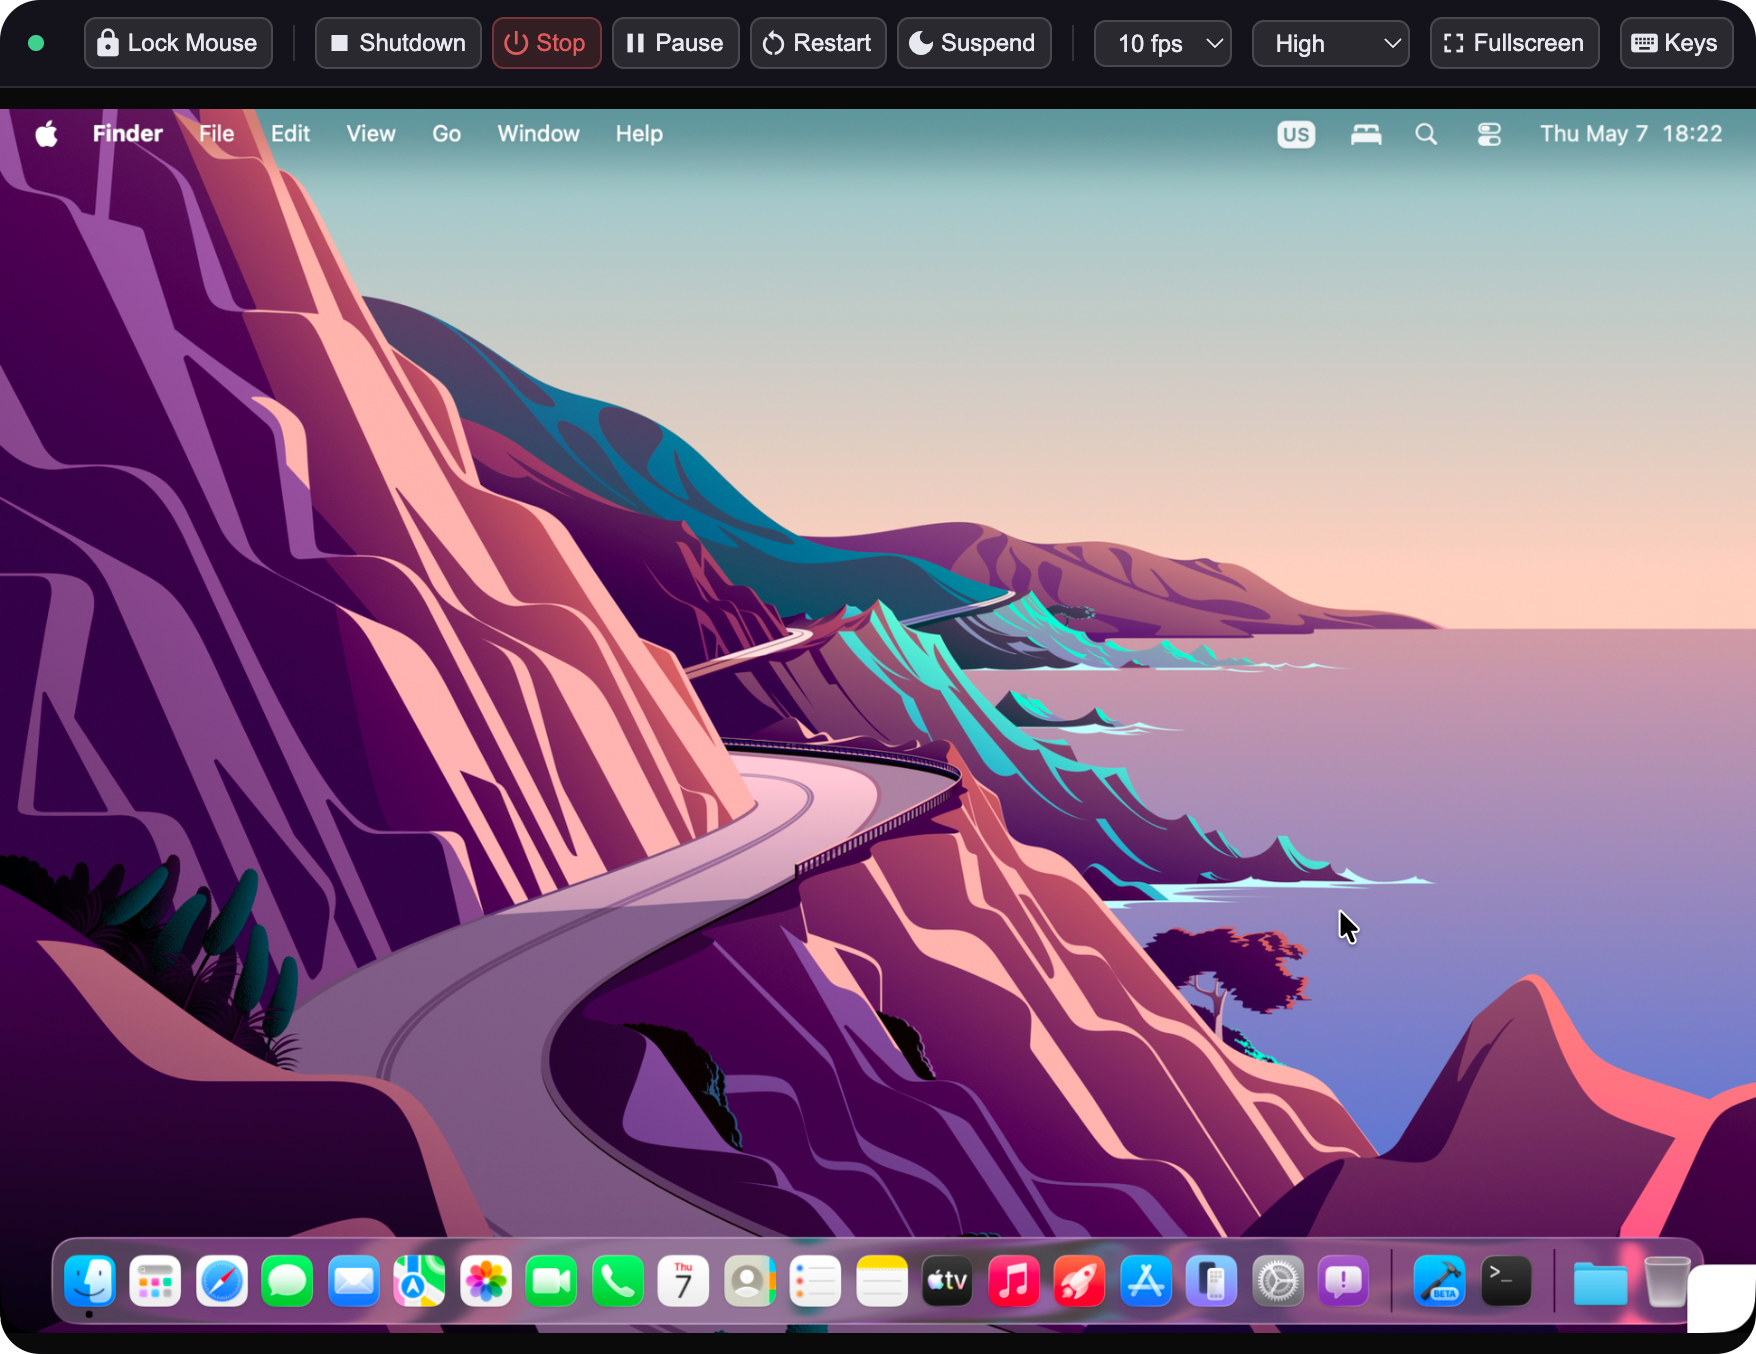
VM Action Buttons
The toolbar shows action buttons that update automatically based on the VM's current state:
| VM State | Buttons available |
|---|---|
| Running | ■ Shutdown, ⏻ Stop, ⏸ Pause, ↺ Restart, 🌙 Suspend (Apple Silicon only) |
| Paused / Suspended | ▶ Resume |
| Stopped | ▶ Start |
Mouse & Keyboard Input
Click anywhere inside the viewer to focus it and start sending input to the VM:
- Mouse — move, left/right click, scroll, and drag all work as normal
- Keyboard — standard keys and text input work; for modifier key combinations use the keys panel in the VM window
- Pointer lock — click 🔒 Lock Mouse to capture the pointer inside the viewer for precision mouse work; press Esc to release
Connection Status
A dot in the top-left of the toolbar shows the state of both connections to VirtualProg. The viewer uses two channels — a WebSocket for the screen stream and a WebSocket for keyboard/mouse input. When a WebSocket is unavailable, the affected channel falls back to HTTP automatically.
| Dot | Meaning |
|---|---|
| 🟢 Green (solid) | Both WebSockets active — live display and full-speed input |
| 🟡 Yellow | Input WebSocket down, screen stream active — input sent via HTTP fallback (slight latency increase) |
| 🟠 Orange | Both WebSockets down — screen and input both using HTTP fallback |
| 🔵 Blue | Screen WebSocket down, input WebSocket active — screen via HTTP polling, input at full speed |
| 🟢 Green (pulsing) | Connecting to VirtualProg on page load |
| 🟡 Amber (pulsing) | VM is paused or suspended |
| 🔴 Red | VM is stopped or server is unreachable |
When the dot is yellow, orange, or blue the viewer is still functional — input and display continue working through the HTTP fallback. If the dot stays yellow or orange for extended periods, a firewall or proxy may be closing idle WebSocket connections.
Connection Stats
When the input WebSocket is active, a latency badge (e.g. 42ms) appears in the toolbar. Click it to open the Connection Stats popup.
| Metric | Description |
|---|---|
| Latency | Input round-trip time — the time from sending a mouse or keyboard event to receiving the acknowledgement. Green below 50 ms, amber 50–150 ms, red above 150 ms. |
| Session | Time elapsed since the remote control session started. |
| Received | Total data received from the screen stream since the session started. Use this to gauge bandwidth consumption — H264 will show significantly lower values than JPEG or PNG. |
| Stream rate | Current adapted frame rate. Only shown when Auto FPS is selected. |
Click anywhere outside the popup to close it.
VM State Changes
The viewer continues checking the VM state even when it is paused, suspended, or stopped. The display area shows a status message and the toolbar updates to show the appropriate action buttons. When the VM resumes or starts again, the viewer automatically detects the change and resumes live display — no need to reopen the window.
Troubleshooting
Display is blank for a console-based VM
If the remote display shows a blank screen and your VM runs a console-only operating system (no graphical desktop — for example, a headless Linux server), you need to enable Modern Screen Capture in VirtualProg settings.
Without Modern Screen Capture, VirtualProg uses a standard screenshot method that cannot capture console-mode VM windows, resulting in a blank viewer.
To fix this:
- In VirtualProg, open Settings → Advanced
- Enable Modern Screen Capture
- Grant the screen recording permission when macOS prompts you
- Click Test to confirm access is working
- Reload the remote control viewer — the display should now appear
See Modern Screen Capture in the Settings documentation for the full setup steps.
Display Sleep: When the Mac display sleeps, VirtualProg falls back to JPEG streaming and resumes H265/H264 when the display wakes. For console-based (non-graphical) VMs the image may appear black during sleep. This is a macOS platform constraint. See Display Sleep for full details.