📦 Templates
The Templates tab shows all your saved VM templates as cards.
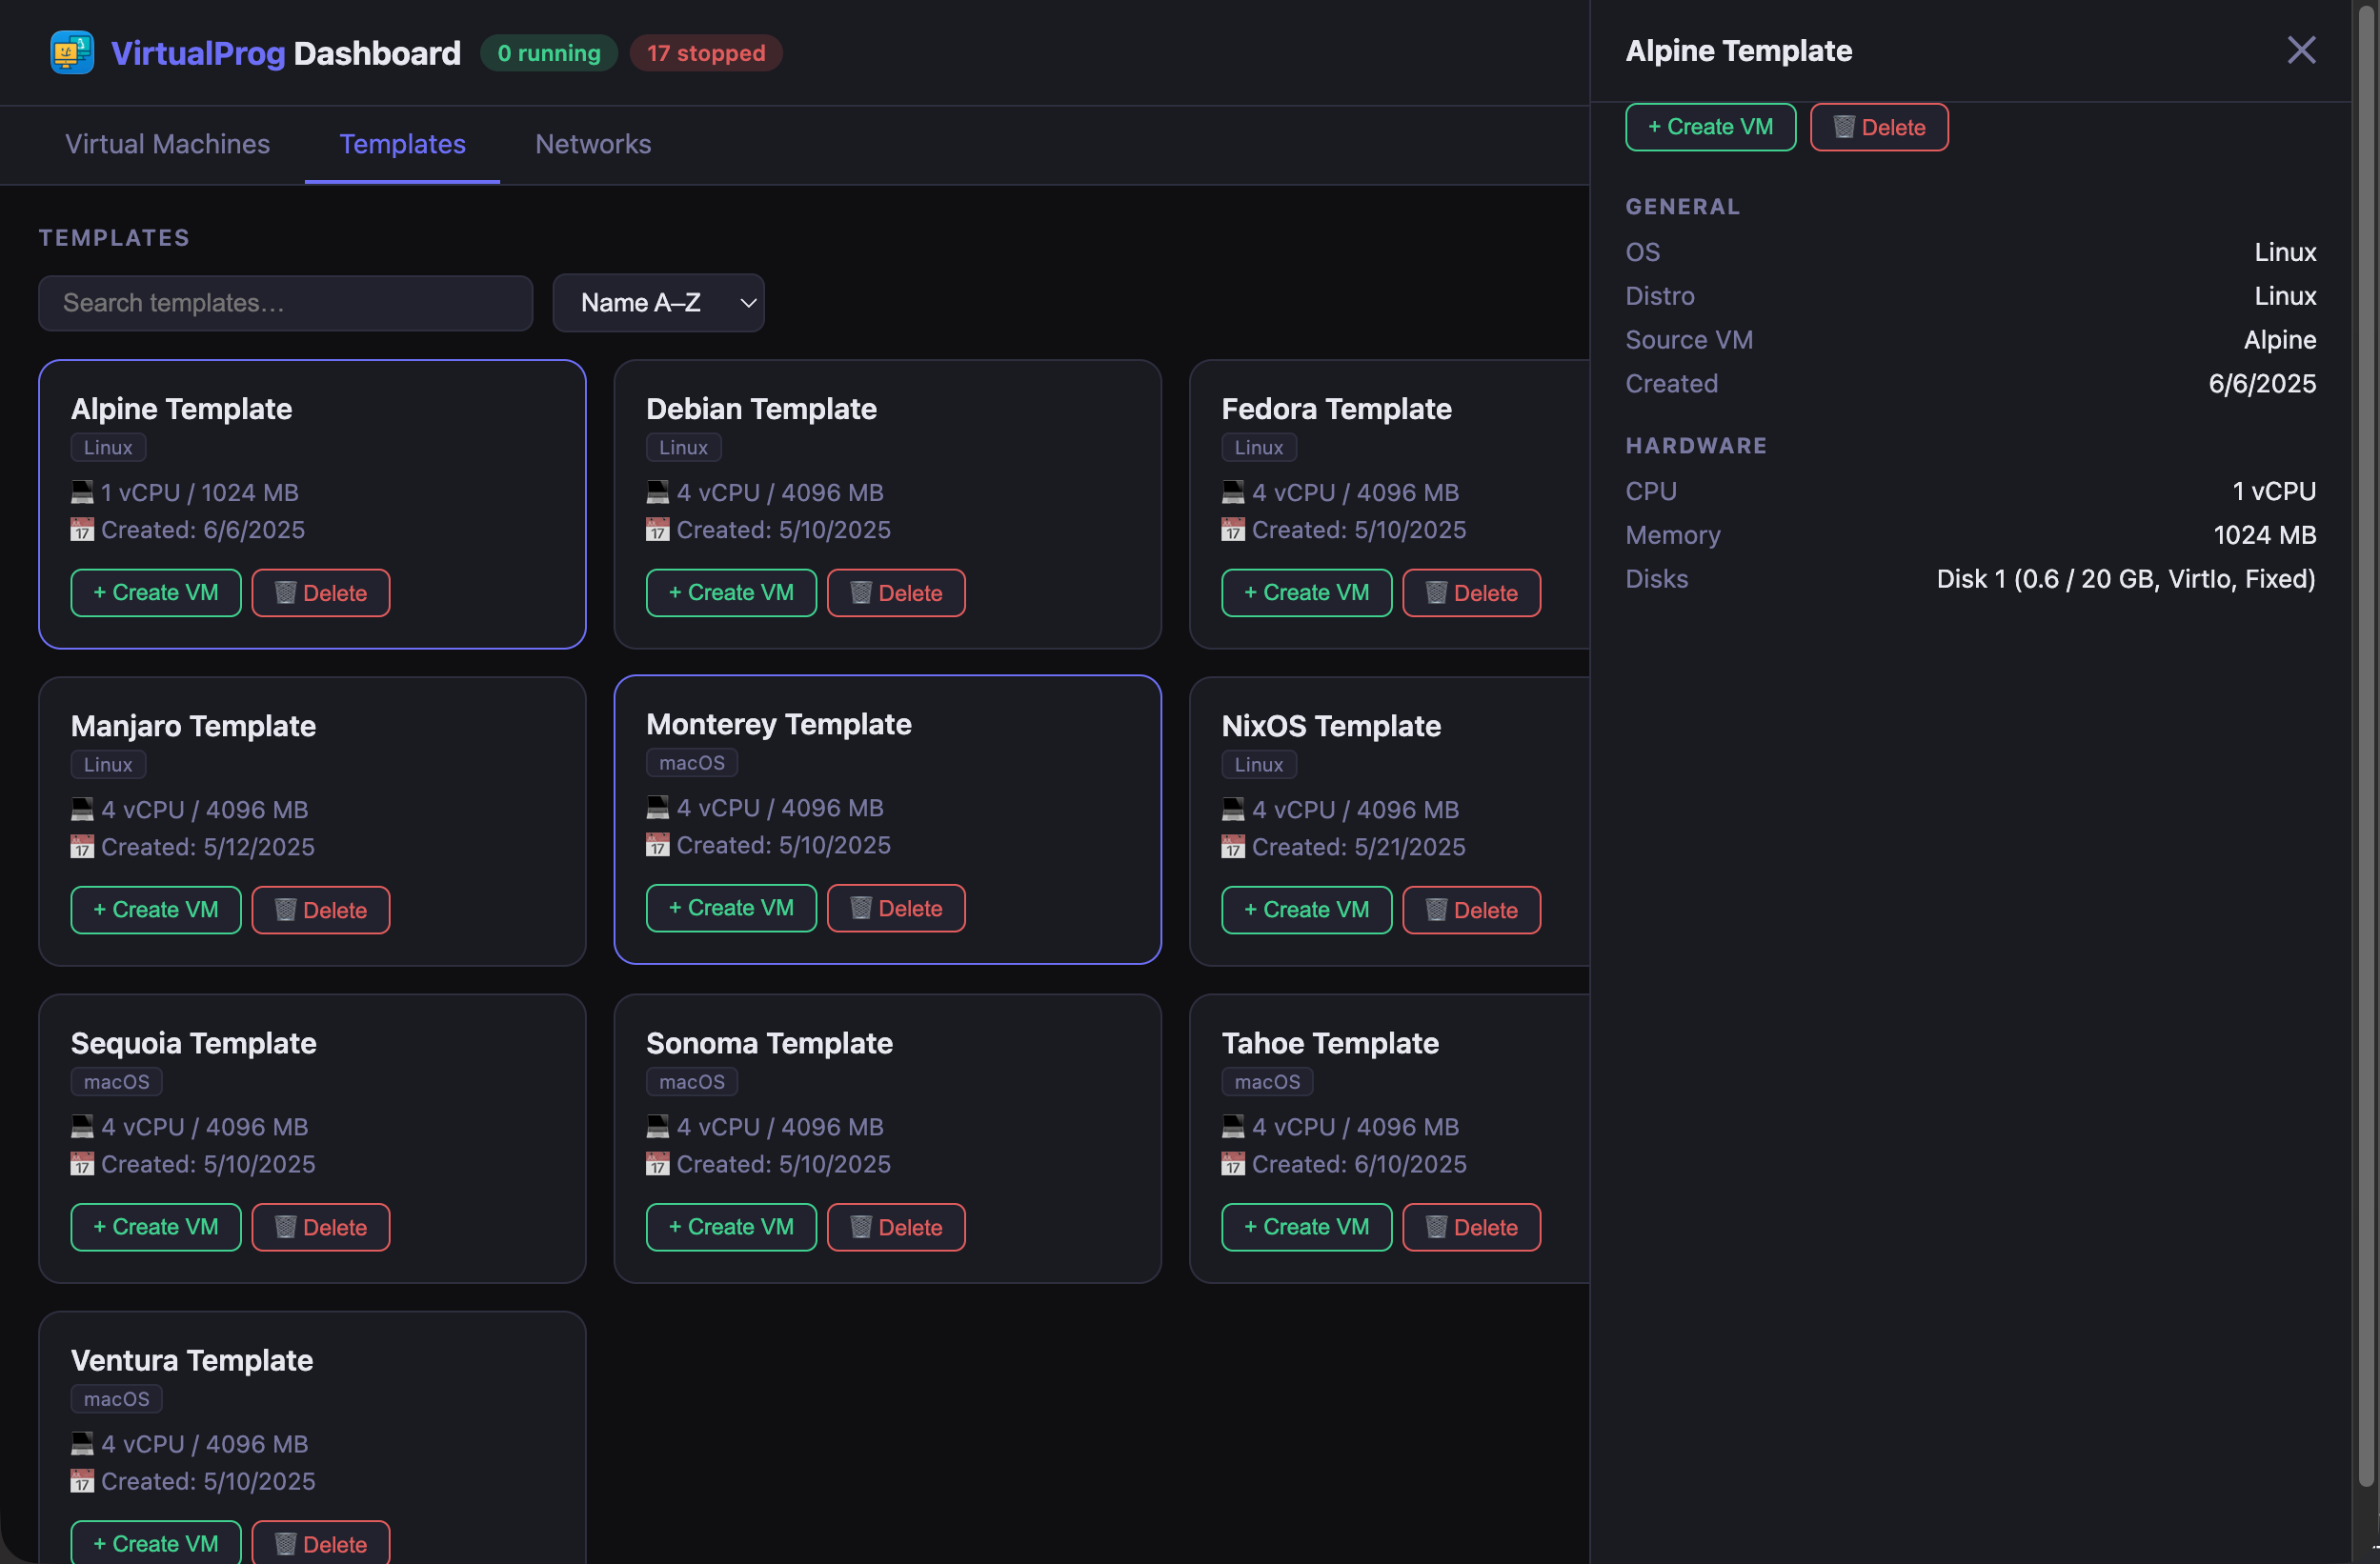
Each card shows the template name, OS/distro, CPU, memory, and creation date.
Use the search bar to filter templates by name, or the sort dropdown to order by Name A–Z, Name Z–A, Newest first, or Oldest first. Use the ⊞ / ≡ toggle to switch between card grid and list view.
Click a template card to open the detail panel, which shows the full template configuration including source VM, OS, and hardware specs.
Template Actions
| Action | Description |
|---|---|
| + Create VM | Create a new virtual machine from this template |
| ⧉ Clone | Duplicate the template under a new name, with optional notes |
| ✏️ Edit | Rename the template or update its notes |
| ⚙️ Configure | Edit the hardware and behaviour settings for this template |
| 🗑 Delete | Permanently delete the template |
The ✏️ Edit button is available on template cards, list rows, and in the detail panel. Clicking it opens a dialog pre-populated with the template's current name and notes. Update either field and click Save to apply the changes. The template list and the VirtualProg app both reflect the changes immediately.
The Clone button is available on template cards, list rows, and in the detail panel. Clicking it opens a dialog where you enter a name for the new template and optional notes. The clone is created immediately and the template list refreshes automatically.
The ⚙️ Configure button opens the full configuration dialog, identical to the VM configuration editor. This allows you to modify the template's hardware (CPU, RAM, display), network settings, and boot behaviour. Note that changing the Name in the configuration editor updates the internal name used when creating new VMs from this template, while the template bundle name remains unchanged.